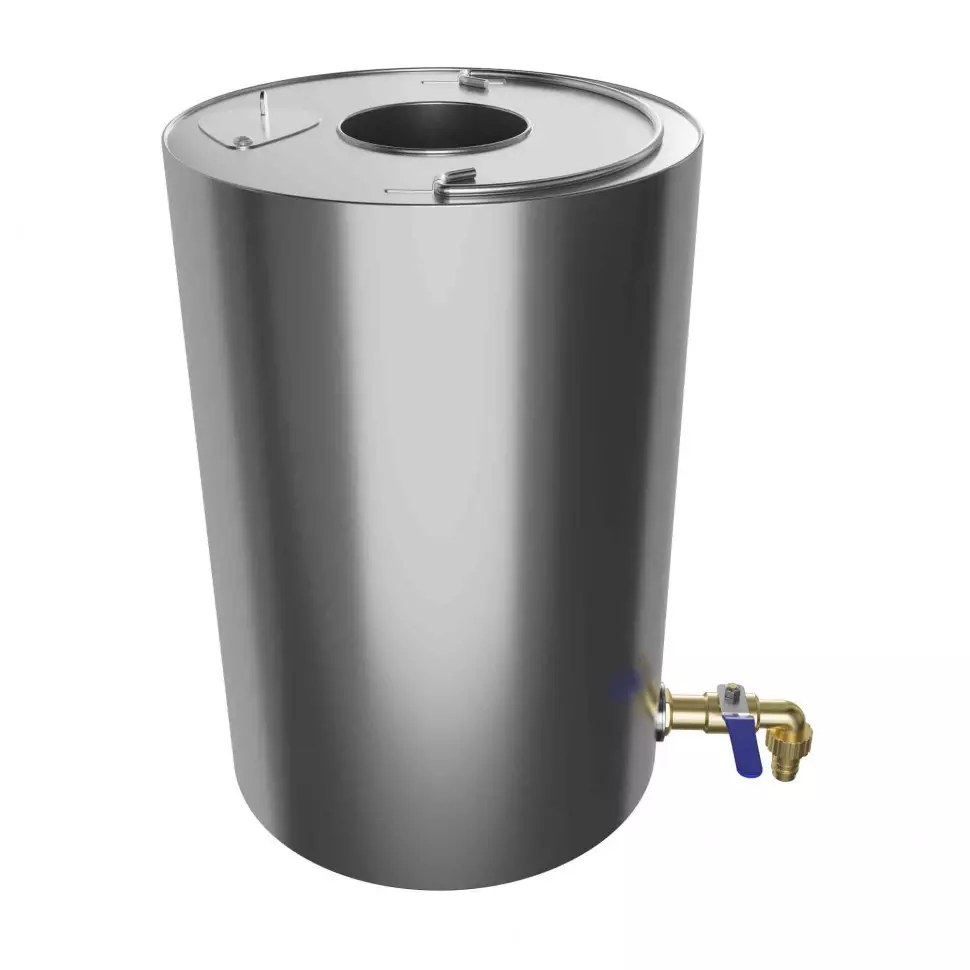
How to Install a Water Tank in a Sauna Tent
You step into your portable sauna tent, ready to unwind after a day of adventure. But wait, what's missing?
Installing a water tank in your sauna tent can elevate your sauna experience, making it more authentic and enjoyable. In this guide, we will show you how to install a water tank in a wood stove for your sauna tent. This will help you enjoy the best relaxation in your outdoor sauna.

Why Install a Water Tank in Your Sauna Tent?
Before we start the installation process, let's look at why a water tank is important for your portable sauna tent. A water tank allows you to create steam, which is essential for a traditional sauna experience. The steam not only enhances relaxation but also helps detoxify your body, improve circulation, and relieve stress. Plus, the gentle hiss of water on hot stones is incredibly soothing, adding to the ambiance of your sauna session.

Choosing the Right Water Tank for Your Portable Sauna Tent
Size Matters
When selecting a water tank for your sauna tent, size is crucial. You want a tank that's large enough to provide ample steam but not so big that it overwhelms your stove or tent. Consider the size of your stove and the space available in your tent. A tank with a capacity of 5 to 10 liters is typically sufficient for most portable sauna setups.
Material Considerations
The material of the water tank is another important factor. Stainless steel is a popular choice due to its durability and resistance to rust. It also conducts heat efficiently, ensuring your water heats up quickly. Alternatively, you can opt for a cast iron tank, which retains heat well and adds a rustic charm to your setup.
Check out our Water Tanks for Intent Stoves.
Installation Process: Water Tank in Wood Stove for Sauna Tent
Step 1: Gather Your Tools
Before you begin, make sure you have all the necessary tools and materials. You'll need:
- A water tank compatible with your wood stove
- Heat-resistant gloves
- A wrench or screwdriver (depending on your stove's design)
- Heat-resistant sealant (optional, for added security)
Step 2: Position the Water Tank
Start by positioning the water tank on your wood stove. Most tanks sit on top of the stove, allowing the heat to rise and warm the water. Ensure the tank is stable and secure, with no risk of tipping over. If your stove has a designated spot for a water tank, use it to ensure optimal heat transfer.
Step 3: Secure the Tank
Once the tank is in place, it's time to secure it. Depending on your stove's design, you may need to use a wrench or screwdriver to fasten the tank. Some stoves come with built-in brackets or clamps for easy installation. If your stove doesn't have these features, consider using heat-resistant sealant to keep the tank in place.
Step 4: Fill the Tank
With the tank securely installed, it's time to fill it with water. Use clean, fresh water to ensure the best steam quality. Avoid overfilling the tank, as this can lead to spills and reduce the efficiency of your stove. A good rule of thumb is to fill the tank about three-quarters full.
Step 5: Fire Up the Stove
Now comes the exciting part, lighting your wood stove. Use dry, seasoned wood for the best results. As the stove heats up, the water in the tank will begin to warm, creating steam. Adjust the stove's vents to control the heat and steam output, tailoring the experience to your preferences.
Safety Tips
While installing a water tank in a sauna tent is relatively straightforward, safety should always be a priority. Here are some tips to keep in mind:
- Use Heat-Resistant Gloves: Protect your hands when handling hot components.
- Monitor Water Levels: Keep an eye on the water level in the tank to prevent it from running dry.
- Ventilation: Ensure your sauna tent is well-ventilated to prevent overheating and ensure a steady supply of fresh air.
- Regular Maintenance: Check the tank and stove regularly for signs of wear or damage, addressing any issues promptly.
Time to improve your Sauna Tent
Putting a water tank in your sauna tent is an easy and effective way to improve your outdoor relaxation. With the right tools and some knowledge, you can turn your sauna tent into a warm retreat. It’s great for relaxing after a day of fun. So, gather your gear, follow our guide, and get ready to enjoy the soothing benefits of steam in the great outdoors.
Ready to enhance your sauna tent experience? Explore our range of portable sauna tents and accessories at Camping Tent Sauna. Whether you love saunas or are new to them, we have what you need for your perfect outdoor retreat. Dive into steam-filled bliss today!


